Lesson 3/Learning Event 2
To check this same piece for taper, first remove the V-block clamps. It is
only necessary to lay the piece in the blocks. Then follow the procedures
outlined above. Adjust the indicator to the proper height on the pedestal
and bring the button of the indicator to bear on one end of the workpiece.
Adjust the dial so the 0 on the dial lines up with the pointer of the
indicator.
Now move the indicator pedestal base so the button of the
indicator is brought to bear on the opposite end of the workpiece.
By
noting the deflection of the needle from 0, you can readily see the amount
of taper in the shaft.
Always mount the dial indicator with the plunger at right angles to the
object being measured.
Failure to do this can result in inaccurate
readings.
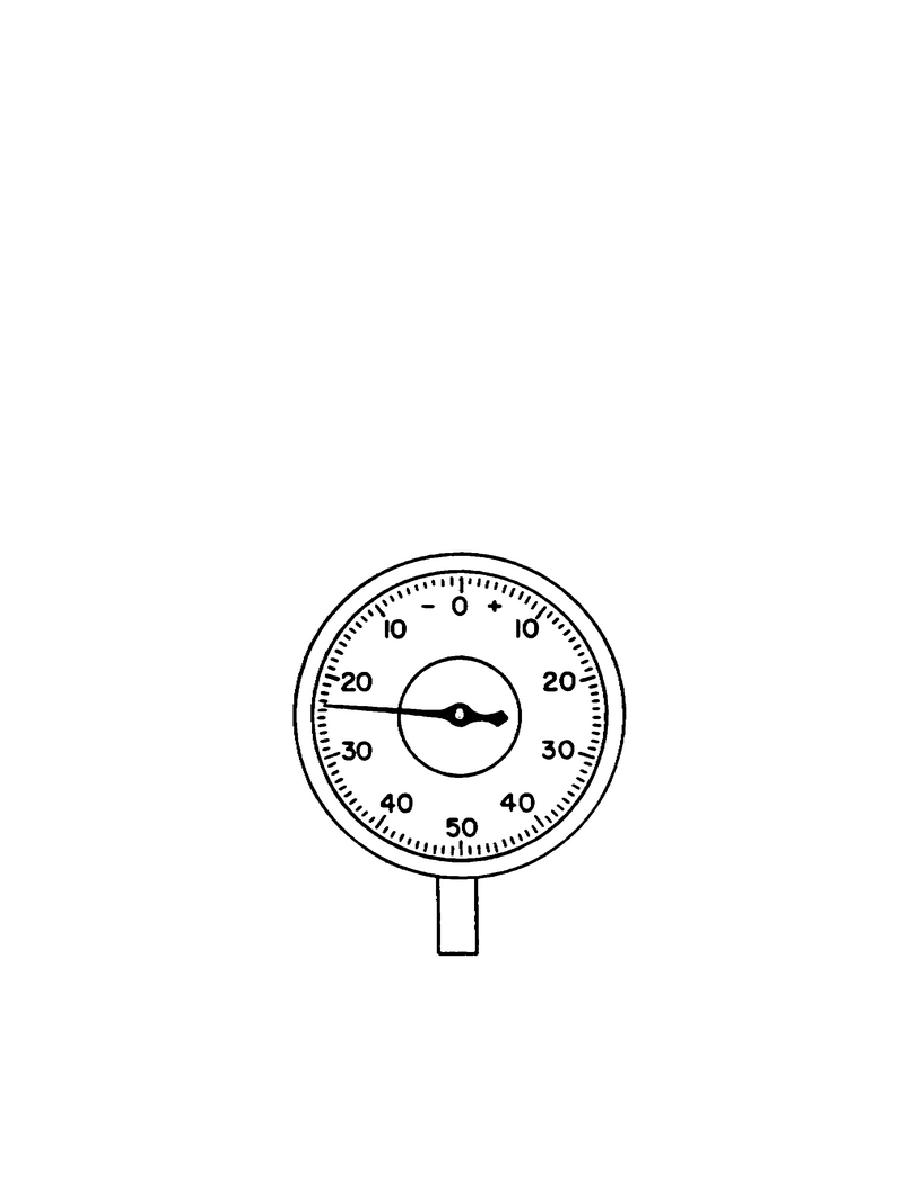
The value of the graduations on the indicator dial of the dial indicator is
easily determined. Using Figure 44 as an example, first look at the figure
on the dial face which identifies the indicator as a 1/1,000 type.
(The
figure is just below the center of the hand.)
Then count the number of
spaces between the 0 and the first numeral to the left of the 0. The first
numeral is a 10, indicating .010 of an inch (10/1,000) of plunger travel.
Since there are 10 spaces between the 0 and the 10, the value of each
graduation is equal to one-thousandth inch.
FIGURE 44.
DIAL INDICATOR
58


 Previous Page
