(8) Loosen the azimuth clamp (13), and swing the instrument around to the most convenient
position for observing the circular level. Turn the large illuminating mirror until the bubble can be
clearly observed. Center the circular bubble by adjusting the foot screws (7).
(9) Direct the telescope along the line of sight by means of the open sights on top of the
instrument. Lightly tighten the azimuth clamp (13), and turn the telescope eyepiece (1) until the
crosshairs of the reticule appear sharp and black. Obtain the proper focusing using the focusing knob
(3), and test for parallax by moving your eye up and down before the eyepiece to ensure no movement
of the crosshairs on the rod. If the crosshairs appear to move up and down on the rod, correct or
eliminate this movement by moving the objective lens in or out. Readjust the eyepiece if the crosshairs
appear fuzzy, and note the reading obtained on the diopter scale. For subsequent readings, reset the
eyepiece at its original focused position. Bring the vertical centerline of the reticule to the center of the
leveling rod by means of the azimuth tangent screw (12) located beside the azimuth clamp (13).
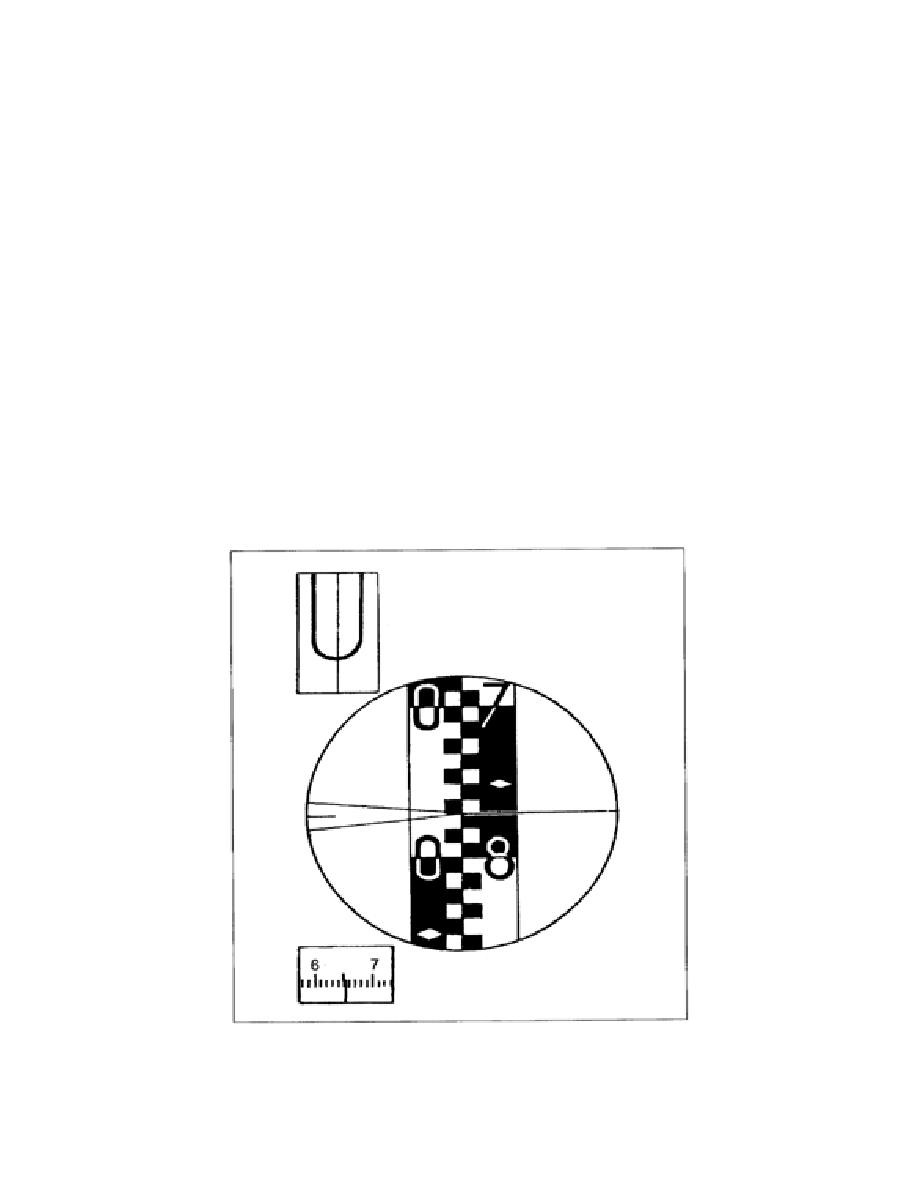
(10) Observe the tubular level through the eyepiece (16), and turn the reflector until the images of
the bubble ends stand out with uniform clearness. To obtain the most satisfactory illumination, ensure
that the white lacquered side of the reflector is uppermost and outwardly inclined. Turn the tilting screw
(4), directly beneath the eyepiece, until the two half images of the level bubble form a single, continuous
curve. Note that the left and right halves of the level bubble image move in the same direction as the left
and right sides of the tilting knob (Figure 4-3, page 4-7 and the upper left side of Figure 4-4).
Figure 4-4. Rod Reading
EN0593
4-8


 Previous Page
