Lesson 1/Learning Event 2
On larger work, it is often necessary to have the work stationary and
positioned to permit access to the micrometer. Figure 11, Part B, shows the
proper method of holding a micrometer when checking a part too large to be
held in one hand.
The frame is held by one hand to position it and to
locate it square to the measured surface.
The other hand operates the
thimble either directly or through the ratchet. You should check large flat
parts in several places to determine the amount of variation.
To gage a shaft, Figure 11, Part C, hold the frame in one hand while
operating the thimble with the other. In measuring a cylindrical part with
a micrometer, it is necessary to "feel" the setting to be sure that the
spindle is on the diameter. You must check the diameter in several places
to determine the amount of out-of-roundness.
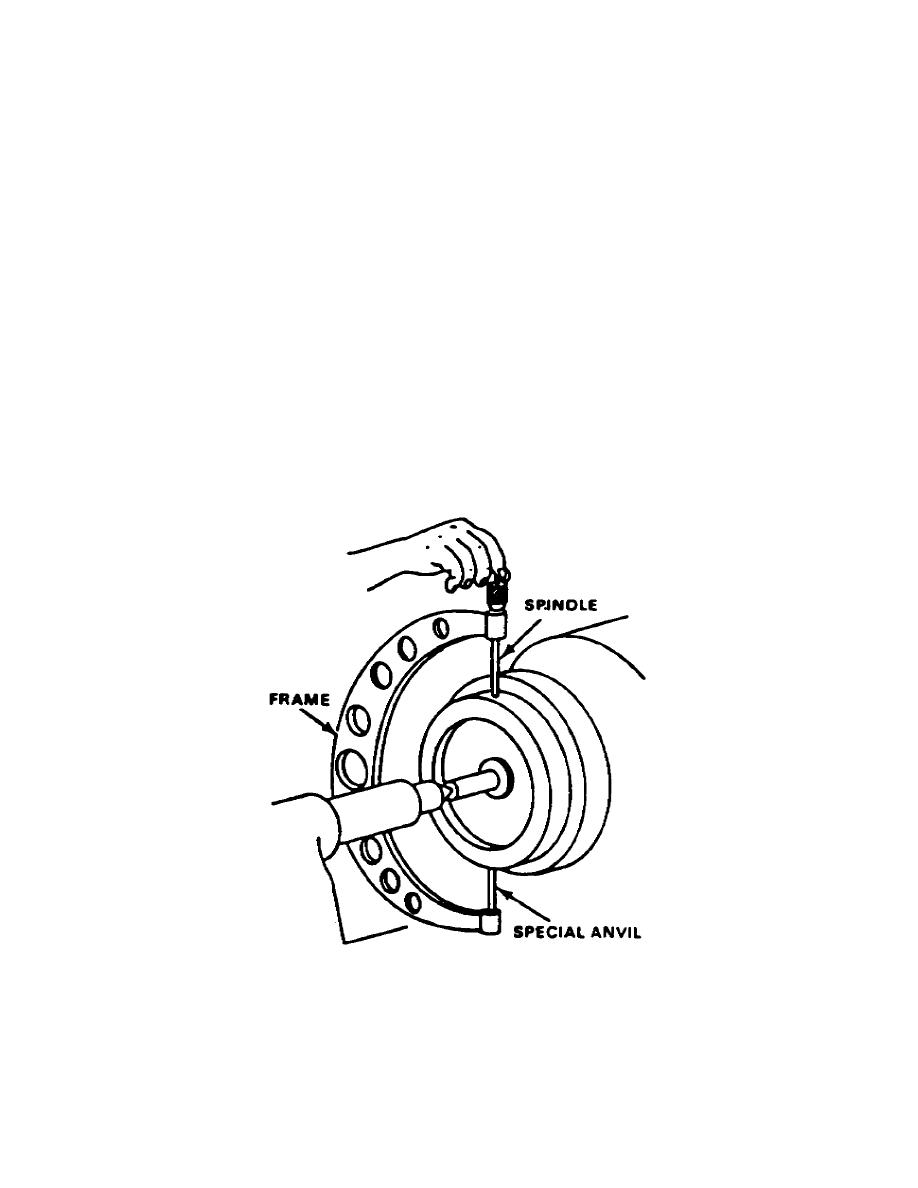
Micrometer calipers are made in various sizes up to 168 inches. Figure 12
shows a pulley being checked with a micrometer whose range has been reduced
by a special anvil screwed into the frame. A set of different length anvils
permits this micrometer to be used over a wide range of sizes.
Yet, the
spindle only moves 1 inch. This micrometer has been lightened in weight by
its I-section construction and by boring holes in the frame.
FIGURE 12.
CHECKING DIAMETER OF A PULLEY
15


 Previous Page
