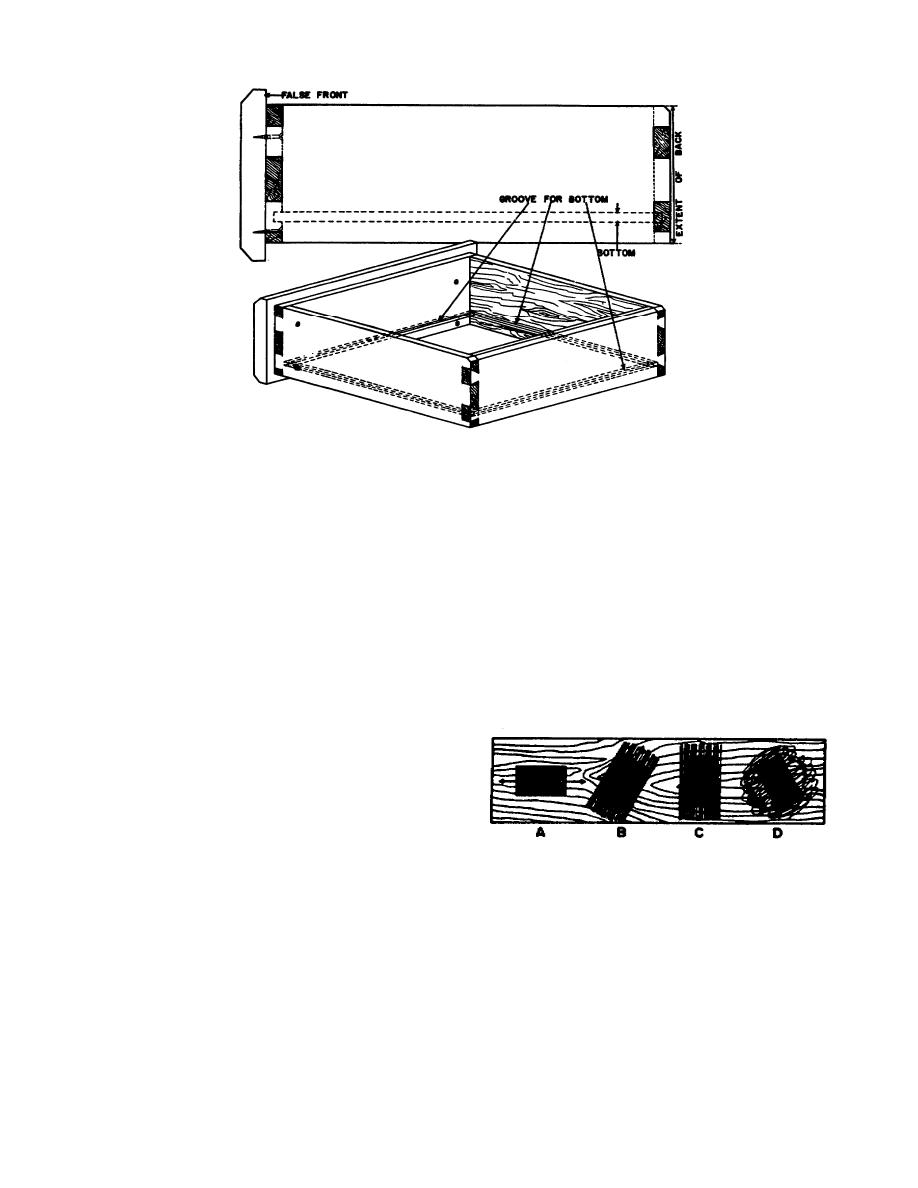
Figure 25. Detail for drawer construction.
should have a pleasing grain, and if more than one drawer
motion when sanding flat surfaces; instead, use long, even
is used, the grain characteristics should be similar on each
strokes.
front. This is true for a clear finish but is not important if
3-26. If parts of the article you are making have
your articles will be painted. Your drawing may call for a
irregular curves, sand them on the spindle part of the disk
false front on a drawer (see fig. 25); if so, the material
and spindle sander; however, if a sander is not available
should be carefully selected and milled to the dimensions
and the curves are long, sand by hand with a block. The
specified.
block guards against rounding the edges. Sand inside
3-24. We have discussed the various parts you will
curves by hand, using a stick with a rounded surface.
have to mill in any one of your projects. Before you
(See fig. 27.)
begin to assemble any of these pans into units, sand each
3-27. For all lathe turnings, such as the posts for
part to remove toolmarks or other blemishes. The greater
tables, stools, or the rungs of chairs, make sure each
portion of the sanding should be completed before the
turning is sanded to a smooth surface before you begin
parts are assembled, so that after an article is assembled, it
any assembly work.
needs only touchup sanding to have it ready for finishing.
3-25. Always sand with the grain-never across it-or
you will mar the surface of the wood with scratches.
Figure 26, A, illustrates the correct direction the sand
block should move when you are sanding by hand. The
other three parts of figure 26 show incorrect use of the
sand
Figure 26. Direction for sand block.
12


 Previous Page
